Computer Repairer Before & After Report Generator
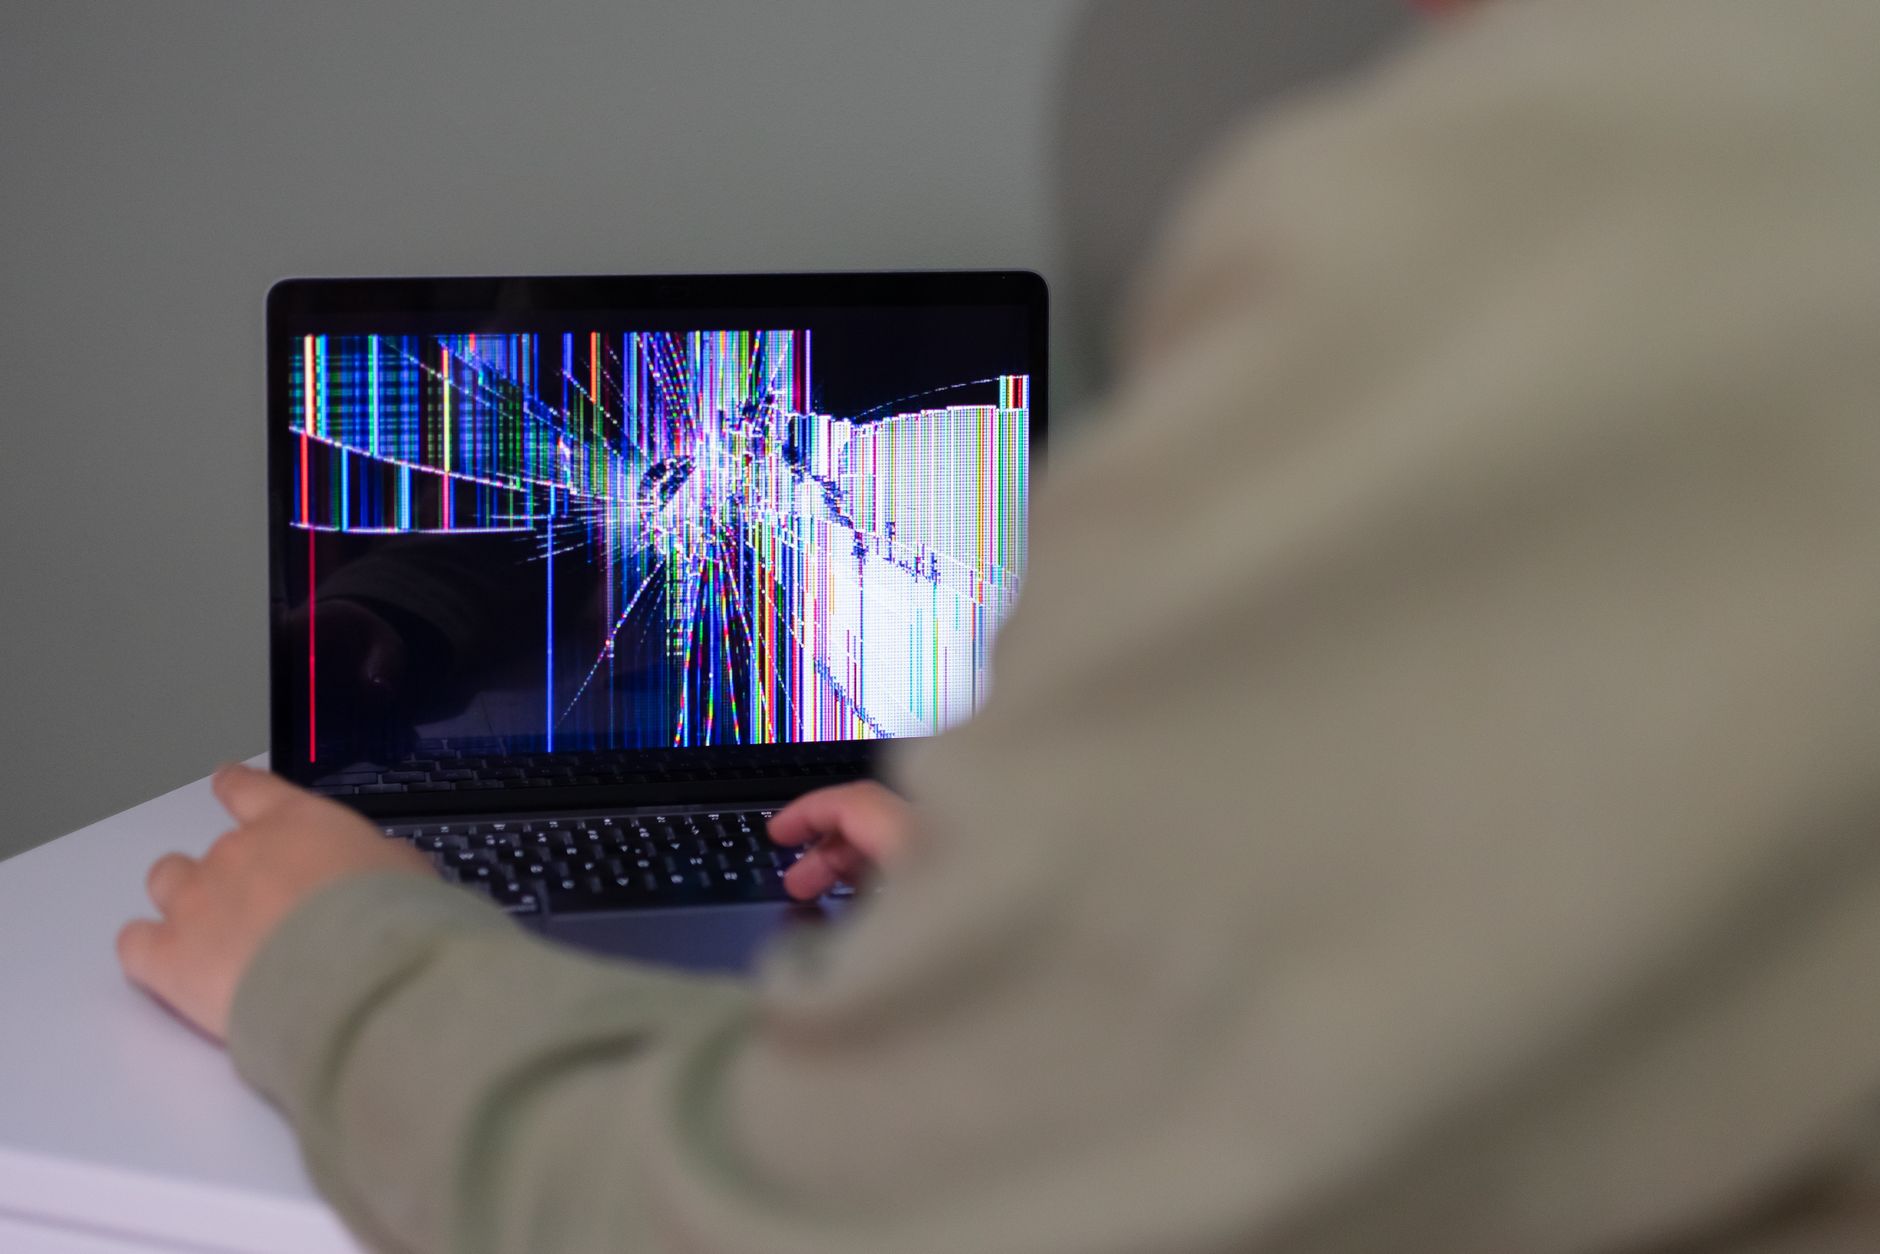
When a client hands you a malfunctioning desktop, laptop, or server, the first thing they want is certainty that the problem will be fixed—and proof that it was. A well‑crafted Before & After Report gives both parties a clear, documented record of the device’s condition before the repair, the work performed, and the resulting state after the service. For computer repair technicians, this single document can reduce disputes, support warranty claims, and showcase professionalism.
Before & After Report
Create your professional document with the MyWorkProof generator.
Why a Before & After Report Matters for Computer Repair Technicians
Building Trust with Clients
Clients often feel uneasy handing over expensive equipment. By providing a photo‑rich report that details the exact issue, the parts replaced, and the final outcome, you demonstrate transparency. The report becomes a tangible promise that the work was completed as described, which can turn a one‑time customer into a repeat client. In an industry where trust is paramount, physical or digital documentation bridges the gap between complex technical jargon and clear customer understanding.
Furthermore, standardizing your reporting process eliminates ambiguity. When a customer understands precisely what is happening inside their machine—whether it is a simple operating system reinstall or complex motherboard surgery—they feel valued and respected. This transparency directly correlates with higher customer retention rates and glowing online reviews for your repair shop.
Documenting Work for Liability and Warranty
Many manufacturers require evidence of proper handling when honoring warranties. A before & after report satisfies that requirement by showing the device’s condition prior to any intervention and confirming that the repair adhered to industry standards. In the event of a dispute—such as claims regarding pre-existing scratches, missing screws, or faulty components—the report serves as a neutral third‑party record protecting your shop from unfair accusations.
Without proper documentation, your shop is vulnerable to false liability claims. A customer might bring in a laptop with a cracked palm rest or a dented chassis, drop it off in a rush, and later claim your technician caused the physical damage during the internal repair. A thorough photo-documented intake report completely neutralizes this risk, safeguarding your business assets and employee reputations.
How the MyWorkProof Before & After Report Works for Computer Repairers
Step‑by‑Step Workflow
- Gather client and device information. Capture the client’s name, contact details, device make, model, serial number, and a brief description of the reported problem.
- Take “before” photos. Photograph the exterior, ports, and any visible damage. For internal issues, include a photo of the opened chassis if safe to do so.
- Record diagnostic findings. Note error codes, hardware test results, and software diagnostics. This section explains why the device is malfunctioning.
- Perform the repair. Replace parts, reinstall software, or clean components as required. Keep a concise log of each action.
- Take “after” photos. Capture the same angles as the before shots to illustrate the improvement. Highlight any new components installed.
- Fill out repair details. Summarize the work performed, parts used (including part numbers), labor hours, and total cost.
- Review, preview, and generate PDF. MyWorkProof lets you preview the report in the browser, make any final edits, then print or save as a PDF for the client.
Information You Should Prepare Before Using the Generator
- Client full name and phone/email.
- Device make, model, and serial number.
- Exact description of the issue reported by the client.
- Diagnostic test results (e.g., SMART data, POST codes, software logs).
- List of parts to be replaced, including manufacturer part numbers.
- Estimated labor time and cost breakdown.
- High‑resolution photos taken in good lighting.
Having this information at hand speeds up the report creation process and ensures no critical detail is omitted.
Profession-Specific Guidance for Tech Repair Specialists
Different types of computer repair demand tailored documentation approaches. Understanding how to customize your before & after reports for various repair niches ensures absolute clarity and professional compliance.
Laptop Screen and Chassis Replacements
When handling physical hardware replacements like cracked screens or bent hinges, visual proof is non-negotiable. Always photograph the initial state of the bezel, hinges, and display panel before opening the case. Highlight pre-existing frame scratches so the client knows you noted them. After installing the new screen, capture tests showing zero dead pixels, proper backlighting, and flush bezel alignment.
Additionally, document the secure routing of antenna cables and webcam ribbons during reassembly. This level of meticulousness reassures the customer that their machine was handled with expert care, minimizing the chance of follow-up complaints regarding loose trim pieces or malfunctioning auxiliary features.
Motherboard and Component Level Repairs
Micro-soldering and motherboard component replacements require extreme precision. Document blown capacitors, damaged USB ports, or liquid corrosion under magnification before starting. Your after photos should clearly display the cleaned circuit board, pristine solder joints, and restored continuity. Including microscopic or macro lens images elevates your service above standard strip-and-replace shops.
When dealing with liquid spill restorations, it is vital to photograph every stage of the ultrasonic cleaning process. Showing the before state (heavy mineral crust and green oxidation) alongside the after state (pristine fiberglass and shiny solder joints) justifies higher service pricing and proves the extreme labor involved in saving a water-damaged logic board.
Data Recovery and Storage Upgrades
Data recovery is high-stakes. Document drive SMART statuses, bad sector counts, and disk serial numbers prior to extraction. When replacing a mechanical drive with an NVMe SSD, show the old drive and the newly installed SSD in situ. Include verification logs proving that directory structures were restored successfully without corrupting user profiles.
For enterprise servers or high-end workstations running RAID arrays, documenting the exact slot configuration, controller firmware versions, and rebuild status is critical. A comprehensive report prevents catastrophic data mismanagement errors and gives the business owner a verifiable audit trail for compliance purposes.
Realistic Example: Fixing a Faulty Laptop Hard Drive
Client: Jane Doe, 555‑123‑4567
Device: Dell XPS 13, Serial #DX13A9B2
Reported Issue: Laptop fails to boot, intermittent “no boot device” error.
Before Photos: One showing the closed laptop, a close‑up of the bottom vent, and a photo of the opened chassis revealing a clicking hard drive.
Diagnostic Findings: BIOS reports “Drive not detected.” SMART test shows 0% health, frequent read/write errors.
Repair Performed: Replaced 256 GB SSD (Part #SATA256‑NVME) and reinstalled Windows 11. Updated BIOS to latest version.
After Photos: Same angles as before, now showing the new SSD securely seated and the laptop powered on with the BIOS splash screen.
Report Summary: “Replaced failed SSD with new 256 GB NVMe drive. Updated BIOS to version 1.12. Restored OS and verified successful boot. Total labor 1.5 hours, parts $120, labor $75.”
When Jane receives the PDF, she can see exactly what was wrong, what was replaced, and that the laptop now boots reliably. This level of detail reduces follow‑up calls and builds confidence.

Advanced Troubleshooting and Documentation Workflows
Integrating documentation into your daily bench routine does not have to slow you down. By adopting a streamlined workflow, your reports practically write themselves while you diagnose and repair hardware.
Standardizing Bench Photography
Set up a dedicated photo station on your workbench with neutral lighting, a clean anti-static mat, and a sturdy phone mount. Taking consistent overhead photos of every incoming laptop or desktop takes less than thirty seconds. Establishing this habit ensures uniform visual standards across all customer service logs, which heavily reinforces your shop's reputation for high-end organization.
Capturing Software Logs and Diagnostic Metrics
Do not rely solely on handwritten notes or memory when logging software diagnostics. Use screenshot utilities or terminal logging commands to capture raw output from tools like CrystalDiskInfo, MemTest86, and Windows Event Viewer. Embedding these readouts or attaching their exported logs to your before and after documentation provides indisputable proof of underlying hardware failures before wrenching even begins.
Common Mistakes to Avoid in Tech Documentation
- Poor photo quality. Blurry or dark images make it hard to prove condition. Use a smartphone with good lighting, and keep the camera steady.
- Missing serial numbers or part numbers. Without these identifiers, the report loses credibility and may not satisfy warranty requirements.
- Vague descriptions. Phrases like “it was broken” provide no actionable information. Be specific about symptoms, error codes, and test results.
- Skipping the “after” photos. Clients often compare before and after side‑by‑side. Omitting after images defeats the purpose of the report.
- Leaving fields blank. The generator includes optional sections; fill them whenever possible to create a comprehensive record.
- Failing to note pre-existing cosmetic damage. Always document existing dents or scratches to prevent customer disputes later.
- Forgetting to record software versions. Failing to note pre- and post-repair operating system builds can cause confusion if compatibility issues arise post-service.
Accuracy, Privacy, and Legal Considerations
The MyWorkProof platform is entirely browser‑based. All data you enter stays on your device until you choose to print or save the PDF. MyWorkProof does not store customer records online, which helps protect privacy and supports compliance with data protection regulations such as GDPR and CCPA.
However, certain regulated repairs—such as handling encrypted drives, medical equipment, or government‑issued hardware—may require additional official forms or certifications. The Before & After Report can supplement those documents but does not replace legally mandated paperwork.
Furthermore, technicians must remain vigilant about client data privacy. When photographing internal components, ensure that customer data, active chat windows, tax documents, or saved passwords visible on secondary monitors are completely obscured or cropped out. Respecting client digital privacy during the documentation process is both an ethical imperative and a legal necessity.
Expanded Deep Dive: Maximizing Shop Efficiency and Repair Documentation Value
To truly scale a computer repair business, operational documentation must evolve beyond a simple intake form. Repair shops that integrate structured before and after reporting into their point-of-sale and customer relationship management systems experience a measurable reduction in administrative friction. When technicians use standardized templates, front-desk staff can quickly answer client inquiries without pulling a technician away from the workbench. This operational synergy translates directly into faster turnaround times, higher daily ticket resolution rates, and increased net promoter scores across your client base.
Moreover, consider the long-term marketing value of your documentation archive. With client permission, anonymized before and after reports make incredible content for social media channels, local SEO blog posts, and educational newsletters. Highlighting a complex logic board repair or a dramatic data recovery success story with crisp visual proof demonstrates real technical competence that stock photography simply cannot match. Prospective clients scrolling through your portfolio will immediately recognize your shop's dedication to precision, making them far more willing to invest in premium diagnostic and repair packages.
Comprehensive Preventative Maintenance Logging
Beyond fixing acute failures, proactive computer repair shops often offer routine maintenance services for local businesses and residential clients. Incorporating preventative maintenance checks into your before and after reporting workflow adds tremendous perceived value to tune-up packages. By logging thermal paste replacements, dust accumulation cleanouts, fan bearing lubrications, and operating system update histories, you provide corporate clients with an auditable maintenance history. This level of thoroughness is particularly appealing to small business owners who must maintain strict IT compliance standards and minimize unexpected hardware downtime.
Frequently Asked Questions
- Can I use the report for warranty claims?
- Yes. Most manufacturers accept a detailed before & after report as supporting evidence, especially when you include serial numbers and part numbers.
- Do I need special software to edit the report?
- No. MyWorkProof runs in any modern browser. You edit directly in the web interface, then preview and export as PDF.
- Is the report legally binding?
- The report is a factual record. It can be used as evidence in disputes, but it does not replace a signed service contract where required.
- Can I add my business logo?
- Yes. The generator includes a field for a logo URL. Upload your logo to a secure image host and paste the link.
- What if I make a mistake after generating the PDF?
- You can reopen the generator, correct the information, and re‑export a new PDF. Keep the latest version for your records.
- Do I need to back up the PDF?
- It’s best practice to store a copy on your local drive or an encrypted cloud storage solution, as MyWorkProof does not retain a copy.
- How do I handle client data privacy when taking photos?
- Ensure that sensitive on-screen data, such as open documents, passwords, or personal emails, is not visible in your diagnostic or before-and-after photographs.
Ready to create a professional, client‑ready document that showcases your expertise and protects both you and your customers?
Comments
Post a Comment