Laptop Repairer Customer Sign-Off Generator
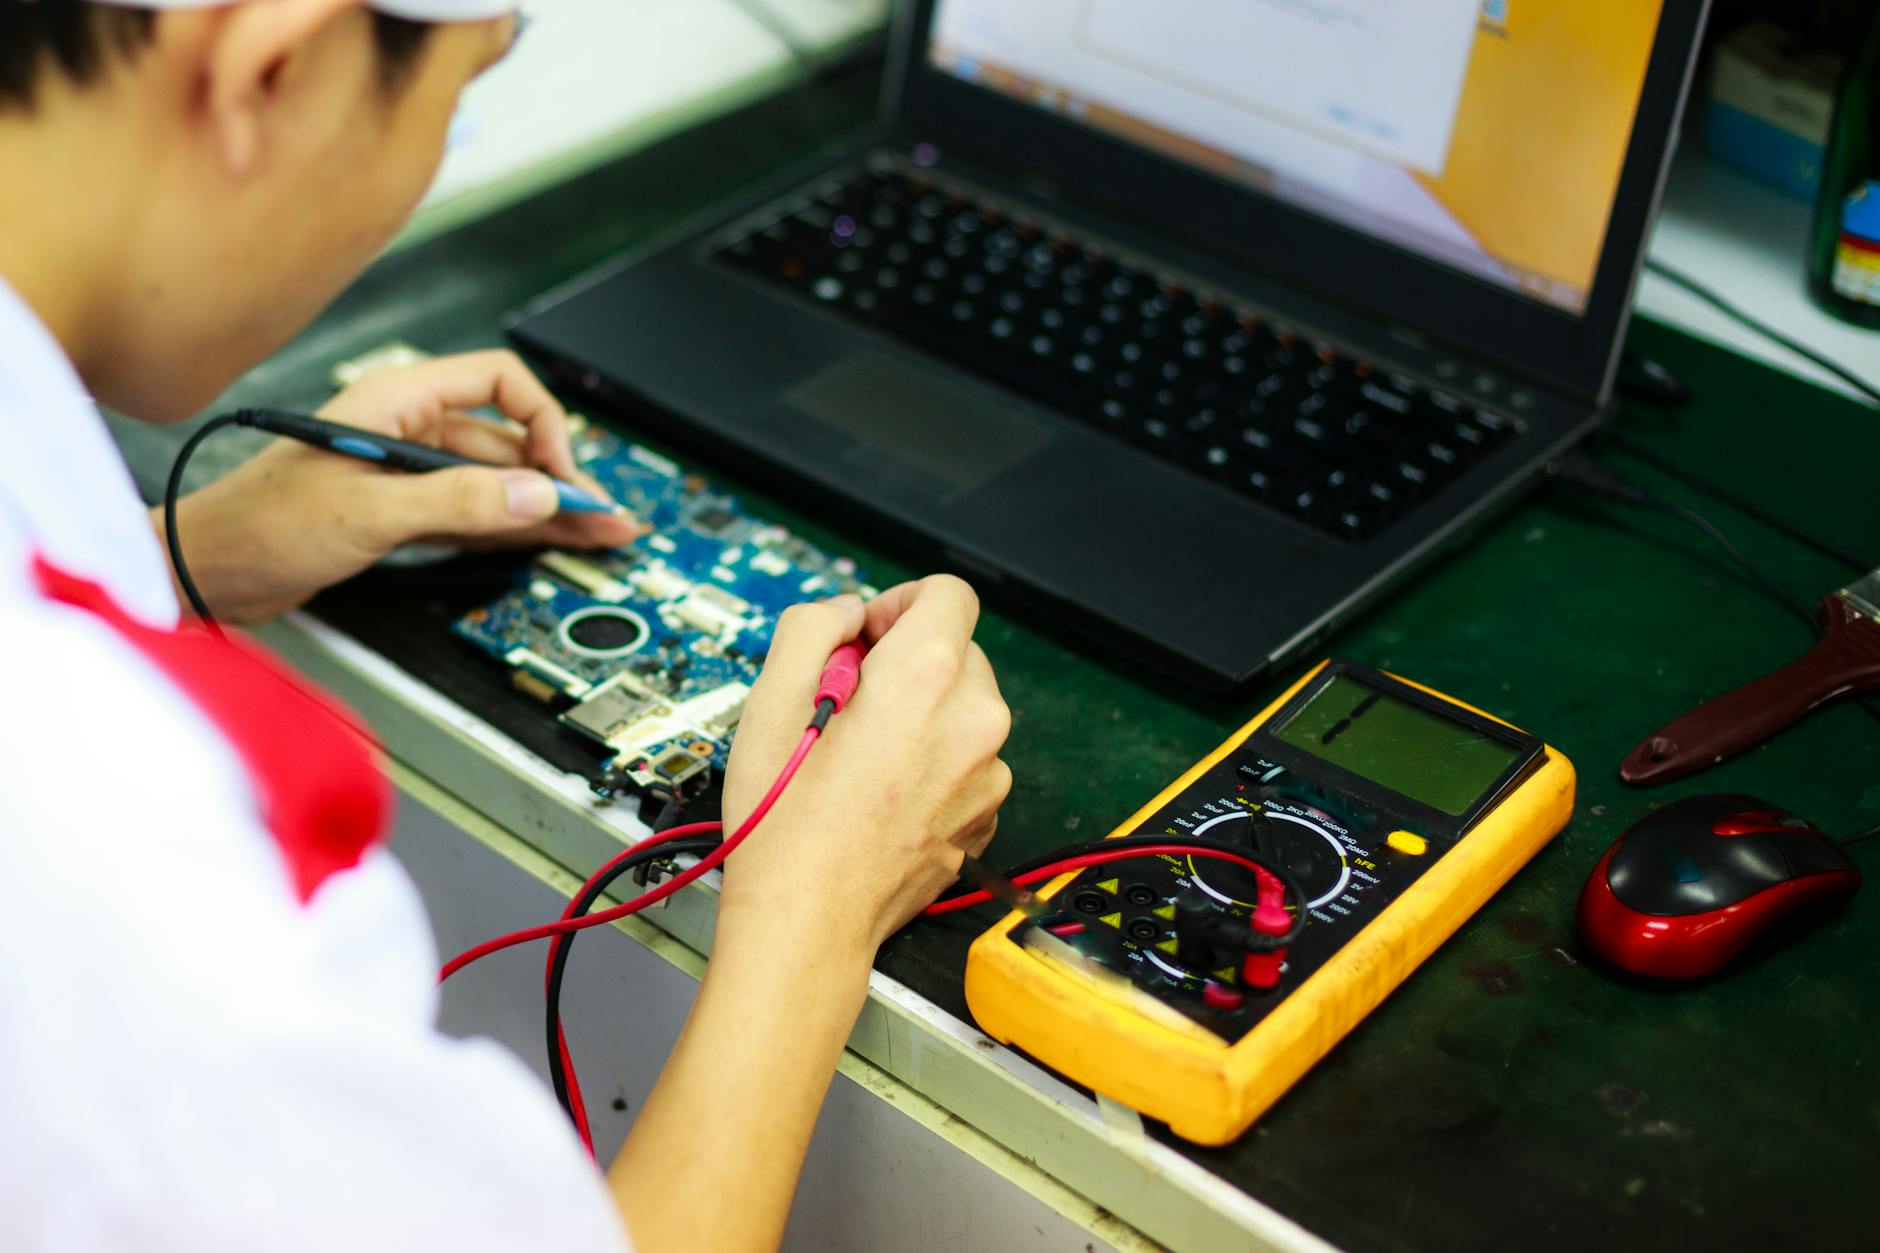
When a laptop leaves your workshop, the final handshake with the customer is more than a polite goodbye—it’s a legal record that the repair was completed, the device is functional, and the client accepts the work. The Laptop Repairer Customer Sign‑Off Generator built into MyWorkProof gives you a ready‑made, professional document that captures every essential detail, helps you avoid disputes, and lets you hand over a polished PDF that the customer can sign electronically or on paper.
Customer Sign-Off
Create your professional document with the MyWorkProof generator.
Why a Customer Sign‑Off Matters for Laptop Repairers
In the fast‑paced world of laptop repair, technicians often juggle multiple devices, parts orders, and warranty claims. A clear sign‑off form protects both parties:
- Proof of service: It records the exact repairs performed, parts replaced, and the condition of the laptop at hand‑over.
- Financial clarity: The customer sees a transparent breakdown of labor, parts, and taxes, reducing payment disputes.
- Warranty safety: Many manufacturers require documented proof that a third‑party repair was performed before honoring warranty claims.
- Legal safeguard: If a customer later alleges a malfunction, the signed form demonstrates that the device was tested and accepted after your work.
Even if your shop is small, having a professional sign‑off can set you apart from competitors who rely on informal notes or verbal agreements.
What Information to Gather Before You Start
Before you open the MyWorkProof generator, collect the following data from the customer and the device. Having this information at hand speeds up the process and ensures the final document is complete.
- Customer details: Full name, phone number, email address, and billing address.
- Device identification: Brand, model, serial number, and any asset tag or inventory code.
- Problem description: The issue reported by the customer (e.g., “won’t boot,” “overheating,” “screen flicker”).
- Diagnostic findings: What you discovered during troubleshooting.
- Repair actions: Detailed list of tasks performed (e.g., “replaced SSD,” “cleaned fan and applied new thermal paste”).
- Parts used: Part numbers, manufacturers, cost of each part, and warranty period for the parts.
- Labor hours: Time spent on diagnosis, repair, and testing.
- Total cost: Labor + parts + taxes + any additional fees.
- Testing results: Confirmation that the laptop boots, runs diagnostics, and meets performance benchmarks.
- Warranty or service guarantee: Length of any guarantee you provide on the repair work.
Fields Included in the Laptop Repairer Customer Sign‑Off Generator
The MyWorkProof tool pre‑populates a clean, printable layout with the following sections. You simply fill in the blanks; the rest is handled automatically.
- Header: Your shop name, logo (optional), and contact information.
- Customer Information: Name, contact details, and address.
- Device Information: Make, model, serial number, and any identifying tags.
- Issue Reported: A short sentence describing the customer’s original complaint.
- Diagnostic Summary: Bullet points of what you found.
- Repair Summary: Detailed actions taken, parts replaced, and labor performed.
- Cost Breakdown: Itemized list of parts, labor rates, taxes, and total amount due.
- Testing Confirmation: Statement that the device was tested and is operational.
- Warranty Statement: Duration and scope of any guarantee you offer.
- Signature Lines: Space for the customer’s signature, date, and optionally your technician’s signature.
Step‑by‑Step Guide: Using the Generator
1. Open the Generator
Navigate to the exact URL: https://www.myworkproof.net/?mwp=laptop-repairer%7Ccustomer-sign-off. The page loads a secure, browser‑based editor—no download required.
2. Fill in the Fields
Enter the data you gathered. The form uses clear labels, so you won’t accidentally mix up “Labor Hours” with “Labor Cost.” If a field does not apply (for example, you didn’t replace any parts), leave it blank and the generator will automatically omit that line from the final PDF.
3. Preview Your Document
Click the Preview button (the script will add a button for you). A live preview shows exactly how the sign‑off will appear when printed. Check for spelling errors, correct serial numbers, and ensure the cost totals add up.
4. Adjust Layout (Optional)
If you want to add a logo or change the font size, use the simple style options at the top of the editor. MyWorkProof keeps the design professional and printer‑friendly.
5. Generate PDF
When everything looks good, click the Generate PDF button. The document is created instantly in your browser. You can Print it directly, or Save as PDF for digital signatures.
6. Collect the Signature
For in‑person handovers, hand the printed sheet to the customer and ask them to sign and date it. For remote services, you can email the PDF and request an electronic signature using any e‑signature tool (DocuSign, Adobe Sign, etc.).
Real‑World Example: From Diagnosis to Signed Acceptance
Scenario: Jane Doe brings a 2‑year‑old Dell XPS 13 that won’t power on. After a diagnostic session, you discover a failed battery and a loose RAM module.
Data Collected:
- Customer: Jane Doe, 555‑123‑4567, jane.doe@email.com, 123 Maple St.
- Device: Dell XPS 13, Serial #DX13‑A1B2C3, Asset Tag 007.
- Issue Reported: Laptop does not power on.
- Diagnostics: Battery voltage at 0 V, RAM not detected.
- Repair Actions: Replaced battery (Dell OEM, $120), reseated RAM (no cost).
- Labor: 1.5 hours @ $50/hr = $75.
- Total Cost: $195 (including tax).
- Testing: Laptop boots, runs Windows 10, battery holds charge for 5 hours.
- Warranty: 90‑day parts & labor guarantee.
After entering these details into the generator, the preview shows a clean, two‑page PDF. Jane reviews the cost, signs the bottom line, and you hand her the laptop back. Both parties keep a copy—Jane for her records, you for future reference.
Common Mistakes and How to Avoid Them
- Missing serial number: Always double‑check the sticker on the bottom of the laptop or in the BIOS. A missing serial number can invalidate warranty claims.
- Vague repair description: Instead of “fixed issue,” write “replaced faulty battery (Dell OEM) and reseated RAM module.” Specifics protect you if the customer later claims the problem persists.
- Skipping the testing confirmation: Include a brief statement like “Device passed post‑repair diagnostics and powered on without error.” This shows you didn’t just hand over the laptop without verification.
- Forgetting the customer’s signature: A signed form is the strongest evidence. If the customer refuses, note the refusal on the document and keep a copy.
- Leaving out tax calculations: Many jurisdictions require tax to be displayed separately. Use the tax field in the generator to stay compliant.
Accuracy, Privacy, and Data Security
MyWorkProof is a fully client‑side application. All data you type stays in your browser until you choose to print or save the PDF. The platform does not store any customer records on its servers, so you retain full control over privacy. However, always follow best practices:
- Clear the browser cache after you finish a session if you’re on a shared computer.
- Do not share the PDF via unsecured email; use encrypted attachments when possible.
- If you handle regulated data (e.g., medical records on a laptop), remember that MyWorkProof does not replace official compliance forms required by law.
When Additional Official Forms Are Required
Some repair scenarios fall under specific regulations—such as data protection laws for devices containing personal health information, or industry‑specific certifications for government‑issued hardware. In those cases, the MyWorkProof sign‑off serves as a supplemental record, but you must also provide any mandated government or industry forms. Always check local regulations before relying solely on a digital sign‑off.

Advanced Tips for Laptop Repair Technicians
Beyond the basic sign‑off, seasoned technicians can use the document as a springboard for higher‑value services:
- Upsell preventive maintenance: Add a checkbox for “Scheduled quarterly cleaning” and note the discounted price. The sign‑off then becomes a contract for future work.
- Document data backup confirmation: Include a line “Customer confirmed that all data was backed up prior to repair.” This protects you from data‑loss claims.
- Link to warranty registration: Provide a QR code that points to the manufacturer’s warranty registration page, reinforcing the value you add.
Integrating the Sign‑Off with Your Repair Management System
Most shop management platforms (e.g., RepairDesk, Shop-Ware) allow you to attach PDFs to a job record. After generating the sign‑off, download the file and upload it to the corresponding ticket. This creates a single source of truth that can be retrieved during audits or when a customer calls with a follow‑up question.
For high‑volume shops, consider automating the process with a simple browser macro that opens the generator, fills fields from a CSV export, and saves the PDF to a predefined folder. While MyWorkProof does not currently offer a bulk‑generation API, the URL can be embedded in internal SOP documents for quick access.
Legal and Regulatory Checklist
Different regions have distinct consumer‑protection statutes. Use the following quick checklist before finalizing the sign‑off:
- Are you displaying the full tax amount or tax rate as required by local law?
- Does the warranty statement comply with any “cooling‑off” period mandated in your jurisdiction?
- If you collect personal data (email, phone), have you included a brief privacy notice or reference to your privacy policy?
- For repairs on government‑owned laptops, have you added the required “Authorized Repair” statement?
Checking these items reduces the risk of a later legal challenge.
Data Backup and Privacy Checklist
When a laptop contains sensitive data, the sign‑off can also serve as evidence that you took appropriate precautions:
- Ask the customer to confirm that a recent backup exists before you begin work.
- Document any data migration you performed (e.g., “Cloned 256 GB SSD to new 512 GB SSD”).
- Include a statement that you did not access personal files unless required for troubleshooting, and that any accessed files were deleted after the repair.
Customer Communication Scripts
Clear communication reduces friction. Below are short scripts you can adapt:
Before Repair: “I’ll run a full diagnostic and share a written estimate. Once you approve, I’ll proceed and keep you updated on any unexpected findings.”
During Repair: “We discovered that the battery is dead and the RAM module is loose. Replacing the battery will cost $120 plus labor. I recommend reseating the RAM at no extra charge to ensure stability.”
After Repair: “The laptop now powers on and passes all stress tests. I’ve attached a sign‑off that outlines the work performed and the warranty we’re offering. Please review, sign, and let me know if you have any questions.”
Template Customization Samples
While the default layout works for most shops, you might want to tailor it for specific branding or regulatory needs. Here are three quick variations:
- Minimalist Version: Remove the logo and reduce the font size to fit on a single A5 sheet—useful for on‑site repairs where printing space is limited.
- Compliance‑Heavy Version: Add a separate paragraph titled “Data Protection Statement” that references GDPR or CCPA, depending on your location.
- Marketing‑Friendly Version: Include a small footer with a QR code linking to a customer satisfaction survey or a discount coupon for the next service.
Edge Cases and How to Document Them
Not every repair follows the textbook path. Below are a few edge cases and recommended wording:
- Customer Declines Recommended Repair: “Customer declined replacement of the faulty motherboard. No further work performed.” Include a signature line for the customer to acknowledge the decision.
- Partial Repair Due to Parts Unavailability: “Replaced SSD; motherboard replacement postponed until part arrives. Estimated additional cost $200.” Add a date field for the anticipated follow‑up.
- Data‑Sensitive Device: “All personal data was encrypted before repair. No data was accessed beyond system logs required for troubleshooting.”
Extended Frequently Asked Questions
1. Can I add custom fields to the sign‑off?
Yes. The editor lets you insert additional text boxes. Use them for things like “Customer’s preferred contact method” or “Special handling instructions.”
2. What file format does the generator output?
The final document is a PDF, which preserves layout across all devices and is universally printable.
3. Is there a way to password‑protect the PDF?
The generator itself does not add encryption, but after download you can open the PDF in Adobe Acrobat or a free PDF editor and set a password if the document contains highly sensitive information.
4. How do I handle multi‑device repairs in one job?
Create a separate sign‑off for each device. This keeps warranties and cost breakdowns clear, and it prevents confusion if one device is returned later.
5. Do I need to keep a hard copy of the signed form?
Digital copies are generally sufficient, but some jurisdictions require a physical record for a certain period. Check local consumer‑protection laws; if in doubt, keep both.
6. What if the customer wants a refund after signing?
The sign‑off shows the work was completed and accepted. If a defect appears within the warranty period, you can offer a repair or replacement per your warranty terms. A refund is not mandatory unless the repair was not performed as described.
7. Can I use the same template for tablet or desktop repairs?
Absolutely. The fields are generic enough for any electronic device. Just adjust the “Device Information” section to reflect the appropriate model and form factor.
8. How often should I update the template?
Review it annually or whenever tax rates, warranty policies, or local regulations change. Updating ensures continued compliance.
Take Action Now
Ready to protect your laptop repair business with a professional, printable sign‑off? Click the link below, fill in your details, preview the document, and generate a PDF in seconds.
Comments
Post a Comment