Laptop Repairer Before and After Report Generator
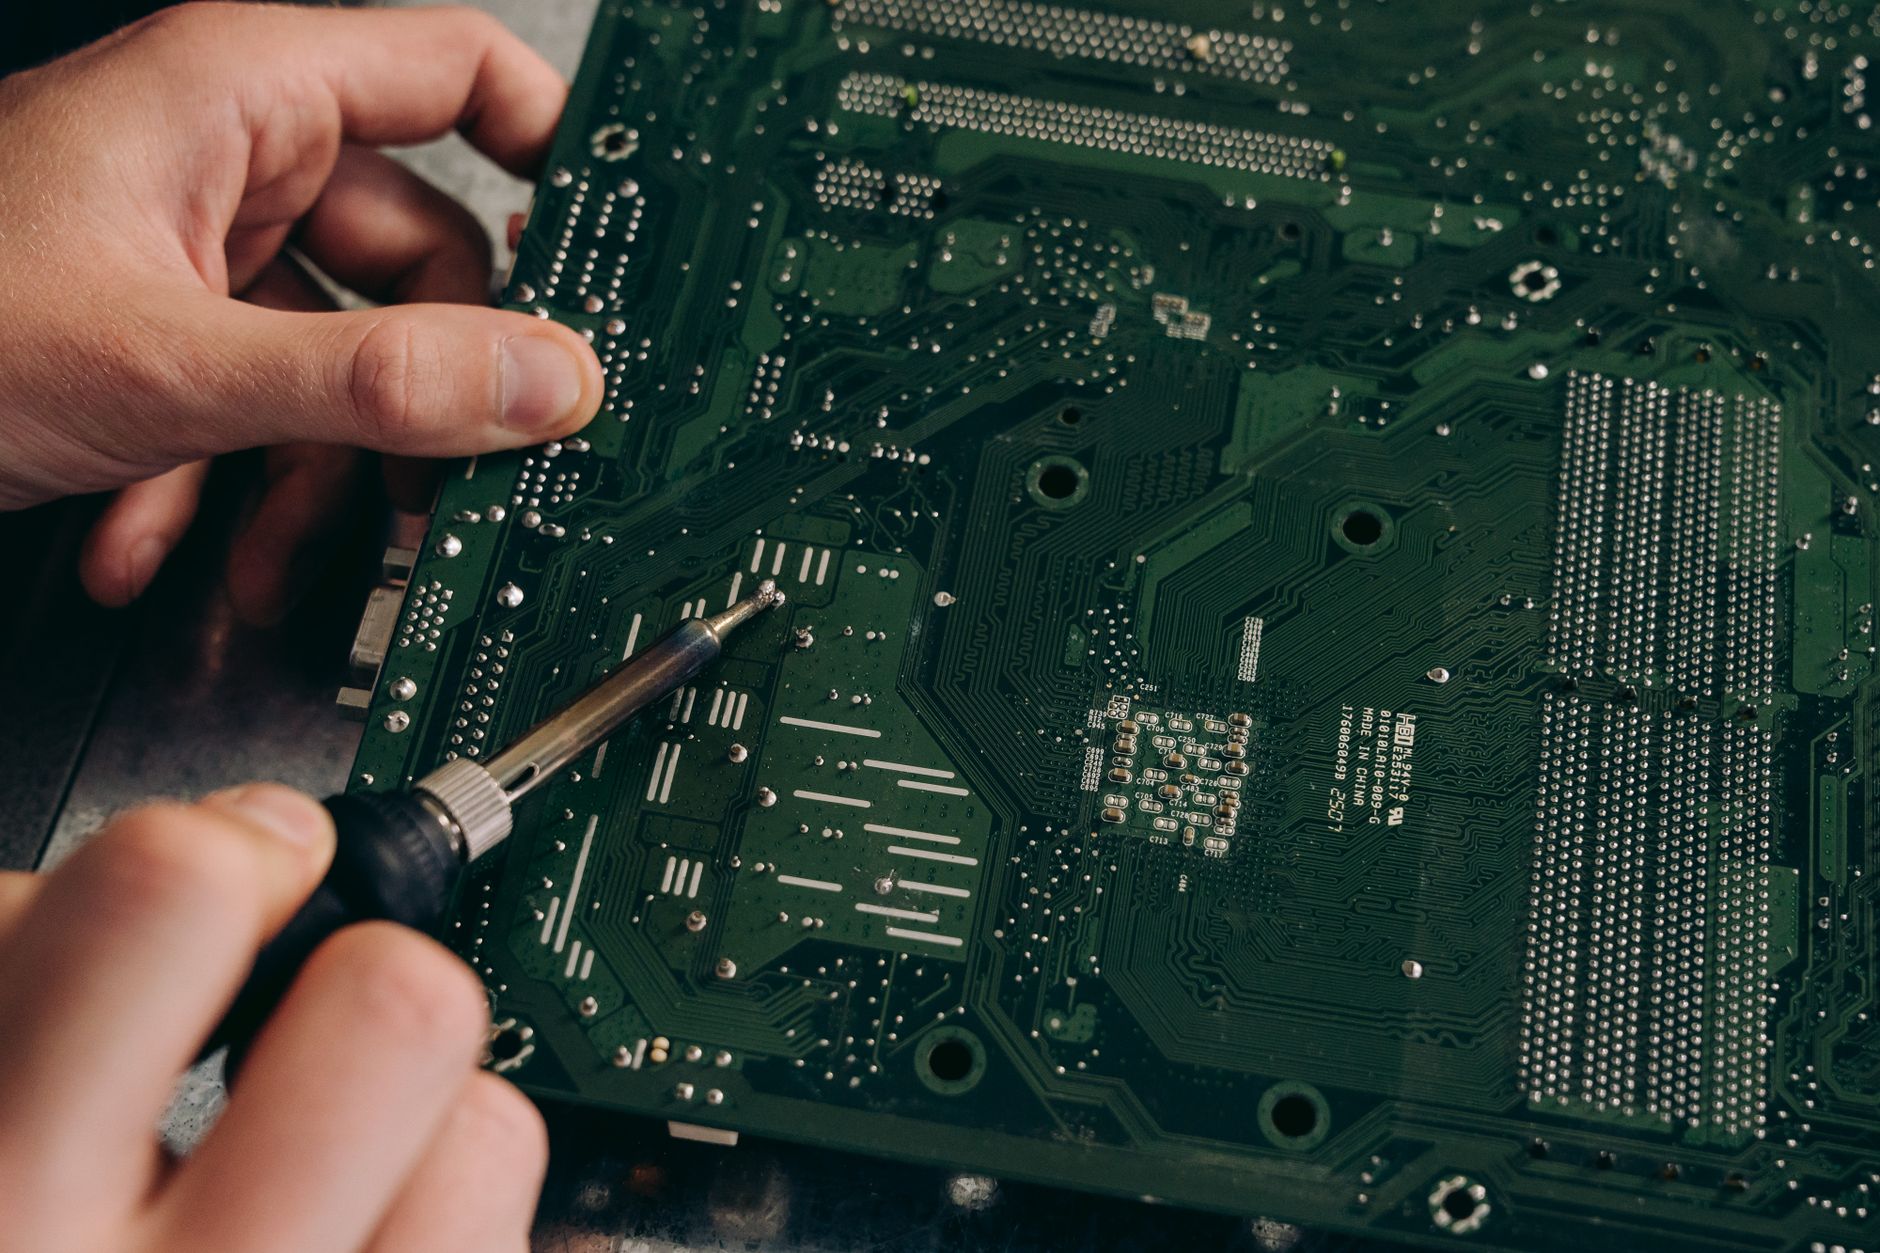
In the electronics and computer service industry, clear communication and transparent documentation are the cornerstones of a trustworthy business. When a client hands over an expensive machine—whether it is a high-end gaming laptop with liquid damage, a workstation requiring a complex motherboard reflow, or a simple notebook needing a screen replacement—they want absolute assurance of the work performed. A professional Laptop Repairer Before and After Report bridges the gap between technical execution and client confidence. It provides a permanent, structured record of the device's state upon arrival versus its fully restored, tested condition upon pickup.
Before & After Report
Create your professional document with the MyWorkProof generator.
Building these reports manually for every single ticket can drain valuable bench time. Technicians should be spending their hours diagnosing logic boards, soldering micro-components, and benchmarking thermal performance, not wrestling with formatting documents or typing out repetitive intake notes. The built-in generator available at MyWorkProof Laptop Repairer Before and After Report streamlines this entire workflow. It empowers independent repair shops, corporate IT departments, and mobile computer technicians to generate pristine, professional reports in seconds without installing bulky desktop software or managing cloud customer databases.
Understanding the Laptop Repairer Before and After Workflow
A structured workflow ensures that no detail is missed from the moment a machine crosses the threshold of your workshop to the final quality assurance check. Implementing a rigorous before-and-after documentation process protects both the repair shop and the device owner.
- Intake and Initial Triage: The device is logged, serial numbers are recorded, and external physical damage is documented before any tools touch the chassis.
- Diagnostic Assessment: Internal components, thermal paste conditions, battery health percentages, and error codes are captured during initial teardown.
- Execution and Replacement: The physical repair, cleaning, component swap, or software remediation is performed under anti-static conditions.
- Post-Repair Benchmarking: Stress tests, keyboard tests, webcam checks, and thermal evaluations are run to verify stability.
- Report Generation: Findings are compiled into a clear, unified document using the Laptop Repairer Before and After Report generator.
Essential Information to Prepare Before Generating Your Report
To produce an authoritative and comprehensive service report, gather your diagnostic notes and device specifications before launching the tool. Having accurate data prevents disputes and provides a complete history of the service cycle.
- Client and Device Identifiers: Customer name, contact info, laptop brand, exact model number, and serial number (IMEI/Service Tag).
- Pre-Repair Condition Notes: Scratches, dented lids, missing rubber feet, cracked bezels, or prior unauthorized repair attempts.
- Functional Status (Before): Which features failed (e.g., keyboard unresponsive, backlight dead, charging port loose, operating system unbootable).
- Parts and Procedures: Specific replacement parts utilized (e.g., 512GB NVMe SSD, replacement DC-in jack, 15.6-inch 144Hz IPS panel).
- Functional Status (After): Post-repair test results, temperature readings under load, battery cycle status, and clean installation confirmation.
Step-by-Step Guide to Using the Generator
Generating a professional technical report takes only a few straightforward steps within your browser:
- Navigate directly to the Laptop Repairer Before and After Report generator.
- Enter your shop details and the customer's device identification data into the designated fields.
- Fill out the pre-service section detailing initial physical flaws and diagnostic failure points.
- Detail the restorative work, parts installed, and engineering steps taken during the bench process.
- Complete the post-service section with verification metrics, cleaning results, and final testing sign-offs.
- Review the live preview for accuracy, then utilize your browser's native print or save-as-PDF function to archive or print the document.
Realistic Example of a Completed Laptop Repair Report
To see how the data translates into a practical document, review the following field breakdown from a typical logic-board and chassis repair:
Device: NexusBook Pro 15 (Model: NB-5000, S/N: NX99823411)
Initial Condition (Before): Device arrived completely dead. Client reported liquid spill (coffee) near the keyboard area 48 hours prior. Bottom case exhibits sticky residue around intake vents. Keyboard keys F1-F5 sticky; trackpad click mechanism non-responsive. Logic board visual inspection shows corrosion around the charging controller IC and input MOSFETs.
Work Performed: Ultra-sonic cleaning of the main logic board in an isopropyl alcohol solution. Micro-soldering to replace corroded input MOSFET and reflow charging controller. Replaced top-case assembly including integrated keyboard and trackpad. Applied new thermal compound to CPU and GPU heat sinks.
Final Condition (After): Device boots successfully into OS. Battery charges normally, drawing 65W via USB‑C. Keyboard and trackpad fully functional with responsive tactile feedback. Stress test completed for 60 minutes with stable CPU temperatures under 75°C. Cleaned exterior chassis.
Advanced Diagnostic Techniques to Enrich Your Report
For technicians who want to differentiate their service offering, include data from specialized tools. Capture screenshots from firmware flashing utilities, thermal imaging snapshots, or power‑draw graphs from a USB‑C power meter. When you embed these details in the “Post‑Repair Verification” section, the client sees concrete evidence of the repair quality.
- Thermal Imaging: Use a handheld IR camera to record temperature gradients before and after applying new thermal paste. Note peak temperatures at idle, load, and after a 30‑minute stress test.
- Battery Health Analyzer: Record full‑charge capacity, cycle count, and wear level from tools such as HWInfo or BatteryInfoView. Include a brief interpretation (e.g., "Battery health improved from 62% to 88% after replacement.")
- Firmware Version Log: Document BIOS/UEFI version before flashing and after updating. Mention any vendor‑issued security patches applied during the service.
- Power Consumption Metrics: Measure wattage draw during a benchmark (e.g., Cinebench R23) and compare to manufacturer specifications. This demonstrates that the repair has not introduced power inefficiencies.
Reporting for Warranty Claims and Business Clients
Corporate IT departments often require a formal record that satisfies both internal audit policies and vendor warranty conditions. Tailor the report by adding a dedicated “Warranty Reference” field that captures the original purchase date, warranty expiration, and any OEM service order numbers. Include a concise “Root‑Cause Summary” that explains why the failure occurred, which can be critical for warranty approval.
Example addition:
Warranty Reference: Dell XPS 15, purchased 2022‑03‑15, 2‑year ProSupport warranty (WO‑20220315‑00123). Failure classified as "Accidental Liquid Damage" – not covered; however, the repair was performed under a goodwill service agreement.
Integrating the Report with Service Management Systems
Many shops use ticketing platforms such as ConnectWise, RepairShopr, or ServiceNow. While MyWorkProof generates a PDF locally, you can automate the attachment process by using your browser's "Save as PDF" feature and then uploading the file to the corresponding ticket. For high‑volume environments, consider a simple script that watches a folder for new PDFs and pushes them to the API endpoint of your ticketing system.
Legal and Data‑Retention Considerations
Because the generator runs entirely client‑side, you retain full ownership of the data. Nevertheless, be aware of local regulations regarding electronic service records. In the EU, GDPR mandates that personal data (customer name, contact details, device serial numbers) be stored securely and retained only for the period necessary for the service contract. In the United States, certain states require a minimum retention period for consumer electronics repair logs (e.g., California's Consumer Privacy Act). Store PDFs in an encrypted directory and implement access controls to limit who can view client information.

Industry‑Specific Use Cases
Gaming Laptops: Emphasize GPU thermal performance, RGB lighting verification, and high‑refresh‑rate panel calibration. Include benchmark scores from 3DMark or Unigine Heaven.
Business Ultrabooks: Highlight security features such as TPM activation, BIOS password reset, and encrypted drive verification. Document any firmware updates that address known vulnerabilities.
Education‑Sector Notebooks: Record durability tests (drop‑test results if performed), warranty transfer paperwork, and software imaging steps for classroom deployment.
Common Mistakes in Laptop Repair Documentation
Avoid these frequent pitfalls when documenting technical repairs to maintain high professional standards:
- Vague Descriptions: Writing "fixed computer" instead of detailing specific component replacements or logic board repairs.
- Omitting Pre‑Existing Damage: Forgetting to document minor scratches or cracked palm rests, leading to potential customer disputes upon pickup.
- Skipping Serial Numbers: Failing to record the exact serial number or service tag, which creates tracking vulnerabilities in busy repair shops.
- Lack of Verification Metrics: Omitting post‑repair testing data such as thermal performance or battery health percentages.
- Inconsistent Units: Mixing Celsius and Fahrenheit or using ambiguous terms like "hot" instead of a precise temperature reading.
- Missing Sign‑Offs: Not capturing technician initials or customer acknowledgment, which can complicate warranty claims.
Practical Profession-Specific Guidance for Independent Technicians
Running a successful independent computer repair shop requires more than just soldering skills; it demands a streamlined operational framework that builds instant credibility with retail clients and small business owners alike. When customers drop off their malfunctioning laptops, they are often stressed, anxious about losing precious family photographs, or worried about missing critical work deadlines. Providing a clean, professional before-and-after intake and completion document immediately calms these anxieties by setting clear expectations and establishing complete transparency.
Independent technicians should establish a standard operating procedure (SOP) where no device is opened without a preliminary physical condition checklist. This checklist must be filled out directly on the intake counter in front of the customer or immediately after check-in. Noting existing dents, screen scratches, worn-out rubber feet, and loose hinges protects the shop from unwarranted claims that the technician caused cosmetic damage during the repair process. By leveraging the Laptop Repairer Before and After Report generator, technicians can translate these quick intake notes into a polished final document that highlights every diagnostic step taken.
Furthermore, micro-soldering and board-level repairs require specialized documentation. When replacing surface-mount components such as charging ICs, MOSFETs, or backlight fuses, regular text receipts simply do not convey the complexity of the labor involved. Technicians should utilize the report generator to itemize these granular steps—such as ultrasonic cleaning, jumper wire installation, and pinout continuity testing—justifying the service fee to the customer and distinguishing your shop from simple modular-swapping parts replacers.
Comprehensive Troubleshooting and Diagnostics Guide
A thorough repair report is only as accurate as the underlying diagnostics. Professional laptop repair technicians rely on a systematic, step-by-step diagnostic tree to isolate hardware and software failures before writing up their before-and-after summaries. Incorporating structured diagnostic testing into your daily routine ensures higher first-time fix rates and provides verifiable data for your service reports.
- Power Rail Isolation: Begin by checking the main voltage lines (such as 19V VIN, 5V/3.3V always rails, and 1.8V/1.05V secondary rails) using a digital multimeter or an oscilloscope. Document any short circuits found during intake in the "Before" section of your report.
- POST Code Analysis: For machines failing to post, connect a diagnostic LPC/PCI debug card or monitor the SPI flash traffic with a logic analyzer. Recording initial beep codes or POST error numbers proves to the client that the motherboard was indeed failing prior to your intervention.
- Thermal Performance Stress Testing: After replacing thermal paste or cooling fans, run industry-standard workloads like Prime95 combined with FurMark. Recording peak temperatures before and after the thermal service validates the efficacy of the cooling overhaul.
- Storage Media Health Diagnostics: Run SMART tests, check for reallocated sector counts, and evaluate SSD wear levels using tools like CrystalDiskInfo or smartmontools. Documenting drive health status prevents disputes regarding data integrity or premature storage failure after the repair.
Advanced Privacy, Data Security, and Accuracy Principles
In an era of stringent data privacy regulations, laptop repair technicians handle extremely sensitive client data, ranging from personal financial documents and tax returns to corporate intellectual property. Maintaining rigorous data privacy protocols is both a legal obligation and an ethical necessity. When generating before-and-after reports, technicians must be careful not to log sensitive personal identifiable information (PII) beyond what is strictly necessary for device identification and client communication.
Because the MyWorkProof Laptop Repairer Before and After Report generator processes information entirely client-side within your browser, your workshop notes and customer details never touch an external cloud server or third-party database. This eliminates the risk of accidental data breaches from cloud storage misconfigurations. However, technicians must still ensure that any local PDF copies saved to their workshop computers are encrypted using tools like BitLocker or FileVault, and that client hard drives are handled in accordance with frameworks such as NIST SP 800-88 for media sanitization when data recovery or drive wiping services are requested.
Accuracy in technical reporting is equally crucial. Never guess a component part number or exaggerate a diagnostic finding. If a screen replacement involves a panel swap from a 60Hz TN panel to a 144Hz IPS panel, explicitly state the original panel specifications and the upgraded replacement specs. This transparency protects your business against liability and builds a loyal customer base that trusts your technical expertise unconditionally.
Best‑Practice Checklist for Every Report
- Verify client identity and device serial number before opening the case.
- Photograph (or note) all visible cosmetic issues at intake.
- Run a baseline diagnostic suite and record error codes.
- Document each repair step with part numbers and tools used.
- Perform post‑repair benchmarks that match the device’s intended use case.
- Include a concise “What Was Fixed” summary for non‑technical customers.
- Secure a digital or handwritten signature from the client before final hand‑over.
- Store the PDF in an encrypted folder with a naming convention that includes date, client name, and device model.
Accuracy, Privacy, and Regulatory Considerations
MyWorkProof operates entirely within your web browser. This client‑side architecture means your shop notes, client names, and device data are not stored on external servers or harvested into third‑party databases. You retain total control over your records.
Note on Regulations: While MyWorkProof provides exceptional operational and client‑facing documentation, certain jurisdictions or specialized enterprise contracts may require specific government‑certified compliance forms, official electrical safety certifications, or formal waste‑disposal manifests for hazardous electronic components. Ensure you supplement your workflow with any mandatory local regulatory documentation when required by law.
Frequently Asked Questions
Do I need to install software to use this generator?
No installation is required. The tool runs directly inside your web browser on any desktop, tablet, or mobile device.
Can I save the generated report as a PDF?
Yes. Once you review the live preview on the page, you can use your browser's standard Print menu to save the document as a clean PDF or print a physical copy for your workshop counter.
Is customer data stored online by MyWorkProof?
No. MyWorkProof processes your inputs directly in your browser. Your repair records and customer details remain private and are not saved to any cloud database.
Can I use this for desktop computers or tablets as well?
While optimized specifically for laptop repair workflows, the flexible formatting allows technicians to adapt the fields for custom desktop builds, all‑in‑one PCs, and portable tablets.
What should I do if a repair requires specialized safety certificates?
Use the MyWorkProof report for your primary service record and client sign‑off, and attach any mandated regional electrical safety or hazardous material compliance certificates separately.
How detailed should the before‑and‑after notes be?
Be as specific as possible. Mention exact part numbers, specific cosmetic blemishes discovered during intake, and concrete diagnostic test results to ensure maximum clarity and professionalism.
How does this tool help independent laptop repair shops compete with major retail chains?
Independent shops often win clients through personalized service and superior technical transparency. By providing a detailed, professional before-and-after documentation sheet generated via MyWorkProof, independent technicians demonstrate a level of rigorous quality control and accountability that rivals or exceeds large corporate repair depots.
Can I customize the terminology in the report for specialized micro-soldering tasks?
Yes. The flexible text input fields allow you to substitute standard modular repair terminology with advanced component-level descriptions, such as logic board micro-splicing, trace repair, IC replacement, and ultrasonic PCB decontamination.
What is the best way to present these reports to corporate IT clients?
Corporate IT managers appreciate data-driven documentation that includes device serial numbers, asset tags, pre-existing damage notes, and post-repair thermal/benchmark metrics. Exporting the completed report as a secure PDF allows you to seamlessly attach it to corporate ticketing systems or compliance archives.
Comments
Post a Comment