Tablet Repairer Maintenance Report Generator
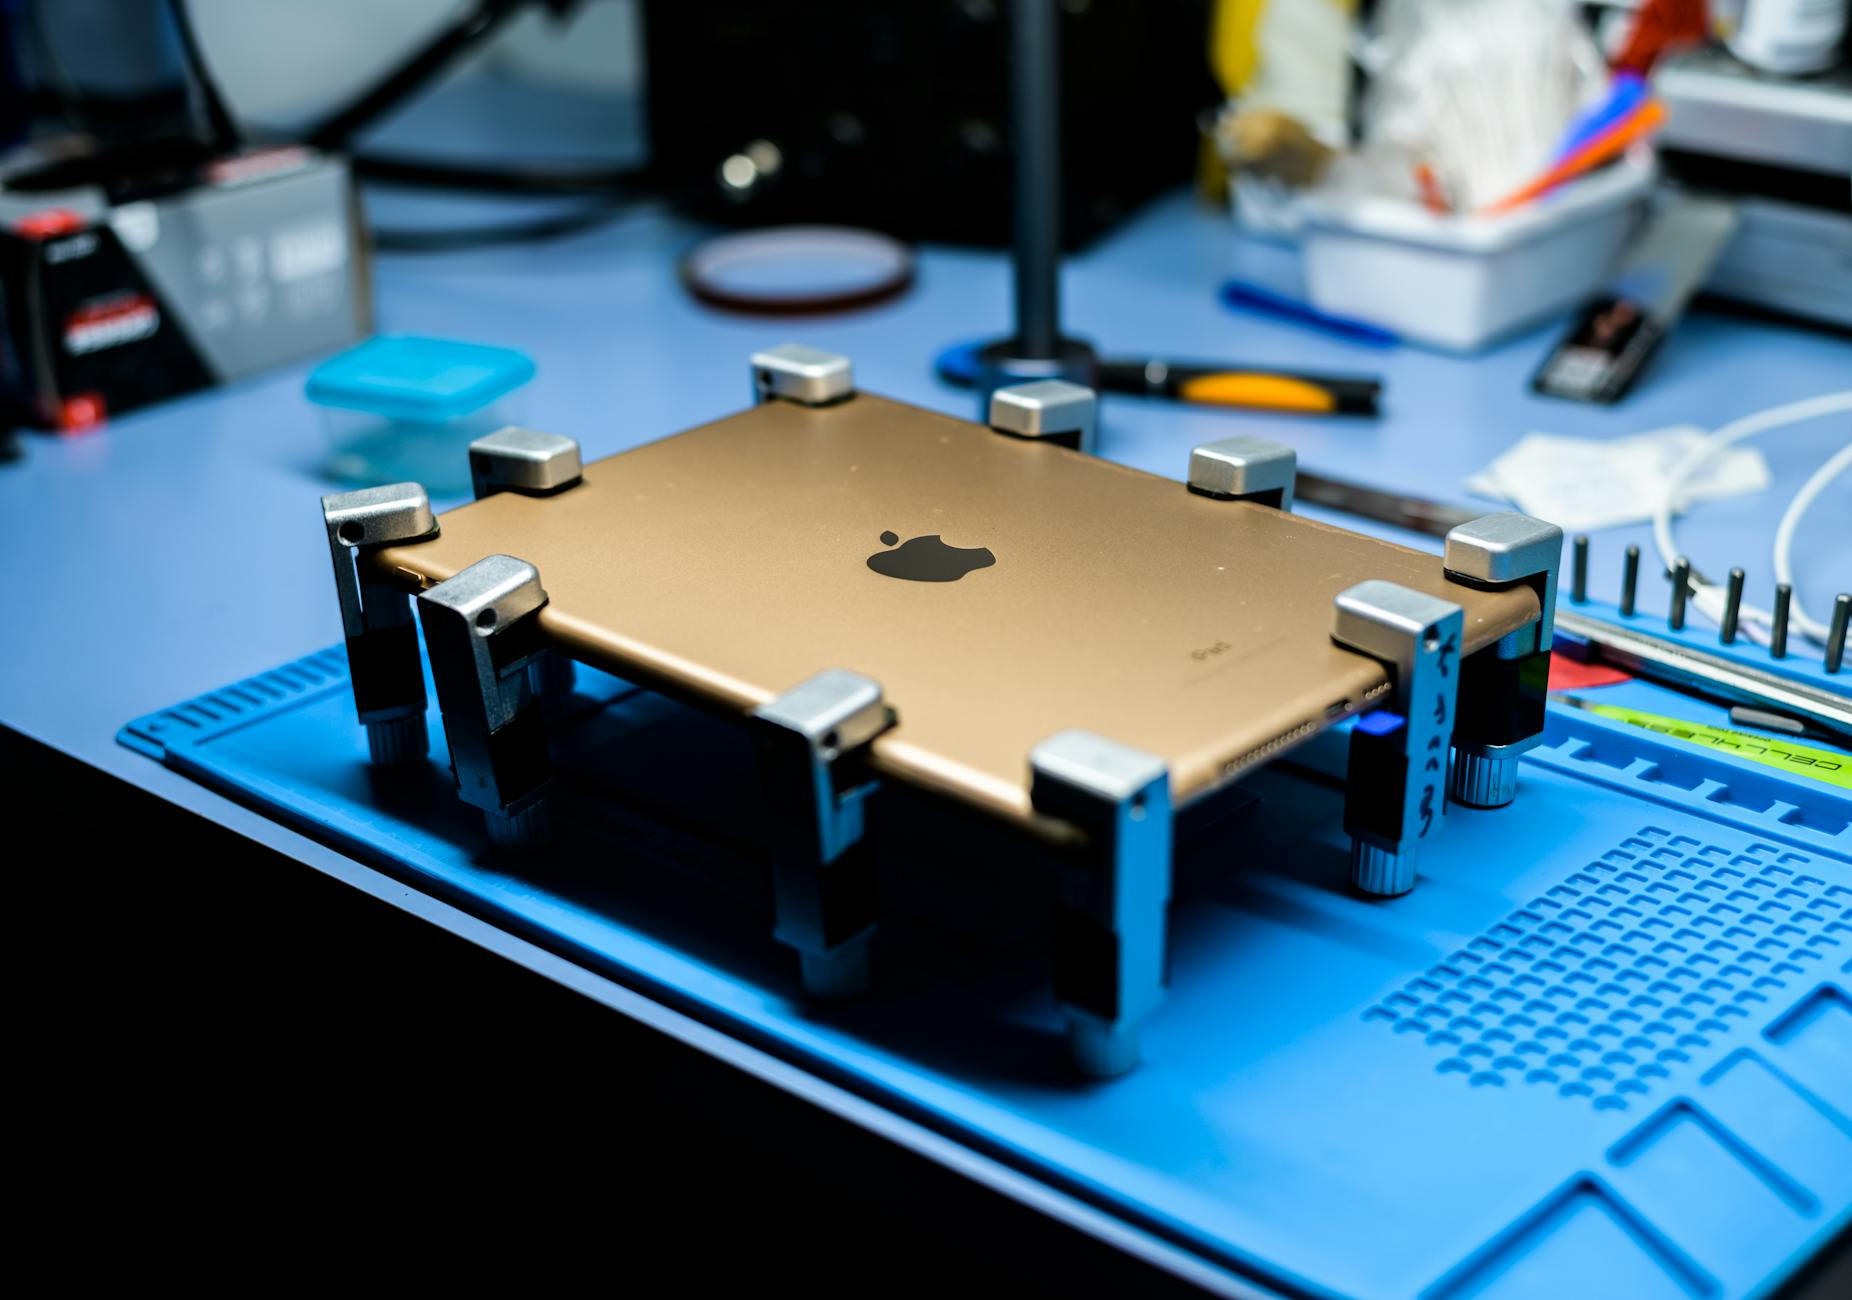
Every professional tablet repairer knows that a well‑documented maintenance report is the backbone of reliable service, repeat business, and legal protection. Whether you are fixing a cracked screen, replacing a battery, or performing a full diagnostic, a clear, printable report shows the work performed, parts used, and the condition of the device before and after service. MyWorkProof’s built‑in Maintenance Report generator does all the heavy lifting: it guides you through every required field, creates a clean PDF, and lets you print or save the document directly from your browser.
Maintenance Report
Create your professional document with the MyWorkProof generator.
Generate your Tablet Repairer Maintenance Report now
Why a Dedicated Maintenance Report Matters for Tablet Repairers
Tablet repair is a high‑touch service. Customers hand over expensive devices that contain personal data, and they expect a transparent record of what was done. A dedicated maintenance report provides:
- Proof of work – A signed document that confirms the repair steps, parts installed, and test results.
- Warranty support – Many manufacturers require detailed service logs to honor warranties.
- Liability protection – Clear documentation reduces disputes over alleged damage or incomplete repairs.
- Business credibility – Professional paperwork distinguishes a serious repair shop from a hobbyist.
Key Sections of the Tablet Repairer Maintenance Report
The MyWorkProof generator structures the report into logical sections. Understanding each field helps you collect the right information before you start the form.
1. Client Information
Collect the customer’s name, contact details, and a brief description of the issue. This section also includes a space for the client’s signature, confirming that they handed over the tablet and agreed to the repair estimate.
2. Device Details
Record the tablet’s make, model, serial number, IMEI (if applicable), and current operating system version. Adding the device’s condition (e.g., “screen cracked, battery swollen”) creates a baseline for later comparison.
3. Diagnostic Findings
Document the results of your initial diagnostics: hardware tests, software logs, and any error codes. This is where you note whether the issue is hardware‑related, software‑related, or a combination of both.
4. Repair Actions
List every step you performed, such as “removed back cover,” “replaced LCD panel (part #XYZ123),” “re‑soldered charging port,” and “performed factory reset.” Include part numbers, quantities, and cost per part.
5. Testing & Verification
After the repair, describe the functional tests you ran (touch responsiveness, battery health, Wi‑Fi connectivity, etc.) and the results. A pass/fail checkbox and optional notes give a quick visual cue for the client.
6. Final Remarks & Recommendations
Offer any maintenance tips, future upgrade suggestions, or warranty information. This section can also include a disclaimer that regulated work (e.g., battery disposal) may require additional official forms.
Step‑by‑Step Workflow to Generate a Perfect Report
- Gather client and device data before you open the generator. Have the tablet, a pen, and the client’s contact card ready.
- Open the Maintenance Report tool by clicking the “Generate” link above. The web app loads instantly – no download required.
- Fill in the Client Information fields. Use a clear, legible font if you type directly; you can also hand‑write on a printed copy later.
- Enter Device Details exactly as they appear on the tablet. Double‑check serial numbers; a typo can invalidate the report.
- Record Diagnostic Findings. Use bullet points for multiple error codes; this keeps the report scannable.
- Log Repair Actions. For each part replaced, include the supplier’s part number. This helps with warranty claims.
- Run post‑repair tests and note the outcomes in the Testing & Verification section.
- Add Final Remarks. Mention any recommended future service (e.g., “replace battery within 12 months”).
- Review the preview. MyWorkProof shows a live preview; scroll through to catch any missing fields.
- Print or Save as PDF. Use the browser’s Print dialog to generate a PDF, then hand it to the client for signature.
What Information to Prepare Before You Start
Having a checklist speeds up the process and reduces errors:
- Customer name, phone, email
- Tablet make, model, serial/IMEI
- Original purchase receipt (optional but helpful)
- List of observed issues (crack, battery swelling, unresponsive screen)
- Diagnostic tool output (e.g., iFixit test results)
- Part numbers for any replacements
- Cost estimate and approved budget
Realistic Example: A Full‑Screen Replacement
Client: Maria Lopez, 555‑0198, maria@example.com
Device: Samsung Galaxy Tab A7, Serial #SN123456789, Android 11
Issue Reported: “Screen flickers and has a visible crack.”
Diagnostic Findings: LCD panel damaged, digitizer functional, battery health 92%.
Repair Actions:
- Removed back cover (no screws damaged)
- Replaced LCD panel – Part #SMG‑LCD‑A7‑01, $85
- Re‑applied adhesive strips
- Re‑assembled device
Testing & Verification:
- Touch responsiveness – PASS
- Display brightness uniformity – PASS
- Battery charge/discharge cycle – PASS
Final Remarks: Advise client to use a screen protector and avoid dropping the tablet. Warranty on LCD panel valid for 90 days.
This example mirrors the exact layout the generator will produce, giving you a ready‑to‑sign document in under five minutes.
Common Mistakes and How to Avoid Them
- Skipping serial numbers – Always record the exact serial/IMEI; it links the report to the specific device.
- Vague part descriptions – Include manufacturer part numbers; generic “screen” entries cause confusion.
- Leaving test results blank – Even a “Not applicable” note looks more professional than an empty field.
- Using unclear abbreviations – Write “LCD panel” instead of “LCD” for clients who aren’t tech‑savvy.
- Forgetting client signature – The signature line validates the report; make it a final step before printing.
Advanced Tips for Tablet Repair Technicians
Beyond the basics, seasoned technicians can leverage the report to improve workflow and customer trust:
- Integrate with inventory software. Export the PDF and attach it to your parts‑management system. This creates an audit trail linking each part usage to a specific service order.
- Use QR codes for quick device lookup. Include a small QR code in the PDF that encodes the tablet’s serial number. Scanning the code in your shop’s database instantly pulls up service history.
- Standardize terminology. Adopt a company‑wide glossary (e.g., “LCD panel” vs. “display assembly”) to keep reports consistent across multiple technicians.
- Schedule preventive maintenance. Add a “Next Service Due” field in the Final Remarks section. For enterprise clients with fleets of tablets, this helps you sell recurring maintenance contracts.
- Document environmental conditions. Note ambient temperature or humidity if you suspect they contributed to hardware failure (common with battery swelling).
Legal and Compliance Checklist
Depending on your jurisdiction, certain repair activities trigger additional reporting requirements. Use the following checklist to stay compliant:
- Verify that battery replacement complies with local hazardous‑waste regulations; attach the disposal certificate if required.
- For repairs covered under manufacturer warranty, retain the original warranty card and reference the warranty claim number in the report.
- Maintain a data‑privacy log when handling devices that contain personal information. Record whether you performed a factory reset or data wipe.
- If you operate under ISO 9001 or similar quality‑management standards, ensure the report includes a unique service order ID and a reviewer’s initials.
Integrating the Report with Your Business Systems
Most repair shops use a combination of POS, CRM, and accounting software. The PDF generated by MyWorkProof can be imported into these systems in three ways:
- Manual upload. Save the PDF locally and attach it to the customer record in your CRM.
- Email automation. Configure your email client to send the PDF automatically to the client and CC your accounting department.
- API‑based sync. If you have a custom workflow, use a browser extension that captures the PDF blob and pushes it to your ERP via a REST endpoint.
These integrations reduce duplicate data entry and ensure that every repair is traceable from start to finish.

Data Backup and Record Retention
Even though MyWorkProof does not store data online, you should still back up your PDFs:
- Store a copy on an encrypted external drive for at least three years, as required by most consumer‑protection laws.
- Consider a cloud backup service that offers end‑to‑end encryption if you need remote access.
- Label each file with a consistent naming convention, e.g.,
YYYYMMDD_ClientName_Model_Serial.pdf, to simplify retrieval.
Device Calibration & Firmware Updates
After a hardware repair, many tablets benefit from a calibration routine or a firmware update to restore full functionality. Add a subsection under Testing & Verification titled “Calibration & Firmware.” Record the firmware version before and after the update, and note any calibration steps performed (e.g., touchscreen calibration, sensor recalibration). This extra detail demonstrates thoroughness and can be crucial when a client later experiences drift or lag.
Handling Sensitive Customer Data
Tablets often contain personal photos, emails, or corporate documents. Your maintenance report should include a “Data‑Handling Statement” that confirms one of the following actions:
- Data was backed up at the customer’s request before any work began.
- A factory reset was performed with the customer present.
- No data access was required because the issue was purely hardware‑related.
Documenting this protects you from accusations of data loss and aligns with GDPR, CCPA, or other regional privacy regulations.
Insurance and Warranty Claims Documentation
When a repair is covered by an insurance policy or a manufacturer warranty, the report becomes a legal document. Include these extra fields:
- Insurance policy number or warranty claim reference.
- Photographs of the defect (store them separately and reference the file name in the report).
- Signed declaration that the repair complies with the insurer’s or manufacturer’s guidelines.
Having these items in the PDF streamlines claim approval and reduces back‑and‑forth with adjusters.
Brand‑Specific Checklists
Different manufacturers use distinct part numbers and diagnostic tools. Adding a brand‑specific checklist as an annex to the report helps technicians stay organized.
Apple iPad
- Use Apple Service Toolkit (AST) for opening the device.
- Record the iPad’s “Model Identifier” (e.g., A2270).
- Note whether the device is covered by AppleCare+.
- Run Apple Diagnostics and capture the result code.
Samsung Galaxy Tab
- Record the “Exynos” or “Snapdragon” chipset version.
- Include the “Samsung Smart Switch” backup status.
- Document any Samsung‑specific warranty stickers.
Microsoft Surface
- Capture the “Surface Diagnostic Toolkit” log.
- Note the presence of the Surface Pen and its calibration.
- Record the Windows version and any pending updates.
Troubleshooting Common Issues
Below are quick‑reference bullet points you can copy into the Diagnostic Findings section for the most frequent problems.
- Unresponsive Touch: Check digitizer flex cable, test with a multimeter for continuity, verify firmware touch driver version.
- Battery Swelling: Measure battery voltage, inspect for bulging, replace with OEM‑rated cell, log disposal certificate.
- Overheating: Clean thermal paste on the SoC, verify fan/heat‑pipe integrity, run stress test for 10 minutes, record temperature peaks.
- Wi‑Fi Dropouts: Update Wi‑Fi module firmware, re‑seat antenna connectors, run a packet‑loss test with a network analyzer.
Customer Communication Script
Clear communication reduces misunderstand‑ings and encourages repeat business. Keep a short script handy and record the key points in the Final Remarks.
Greeting: “Thank you for bringing in your tablet, Mr. Smith. I see the screen is cracked and the battery is slightly swollen.”
Explanation: “We will replace the LCD panel with an OEM part, which costs $95, and we’ll also replace the battery to avoid future swelling. The total will be $150, and the work will take about 45 minutes.”
Confirmation: “Do you approve the repair and the cost estimate?” (Record the client’s verbal consent in the report.)
Closure: “Your tablet has passed all post‑repair tests. I recommend using a screen protector and avoiding extreme temperatures. Here is your maintenance report for your records.”
Quality Assurance Review Process
Implement a two‑person QA step for high‑value tablets (>$500). After the primary technician completes the repair, a senior technician should:
- Verify that every required field in the report is filled.
- Cross‑check part numbers against the purchase receipt.
- Run a final functional test checklist.
- Initial the report in the “Reviewer’s Initials” field.
This practice catches omissions early and provides an audit trail for management.
Additional Frequently Asked Questions
- Can I add my shop’s logo to the report?
- Yes. After generating the PDF you can open it in a PDF editor and insert a logo in the header. The generator itself does not currently support custom branding.
- What if the customer wants a digital copy instead of a printed one?
- You can email the PDF directly from your browser’s print dialog or upload it to a secure client portal. The PDF is fully searchable and can be viewed on any device.
- Do I need to include tax information on the report?
- Tax details are not part of the mandatory fields, but you may add a separate “Invoice” section after printing if your local tax law requires it.
- How do I handle multiple devices repaired for the same client?
- Create a separate report for each device. You can combine them later into a single PDF bundle for the client’s convenience.
- Is there a way to pre‑fill common fields for repeat customers?
- While the web app does not store data, you can use browser autofill or a password manager to quickly populate recurring fields such as name, email, and address.
- What privacy measures should I take when storing PDFs?
- Encrypt the storage drive, restrict access to authorized staff, and purge records after the legally required retention period unless the client requests a longer archive.
- Can the report be used for insurance claims?
- Yes, provided you include the policy number, a clear description of the damage, and any required photographs. Many insurers accept the PDF as primary evidence.
Comments
Post a Comment